Observatory
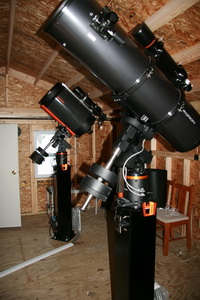
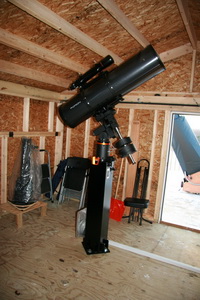
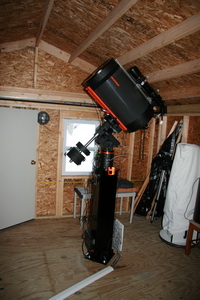
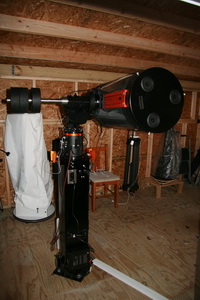
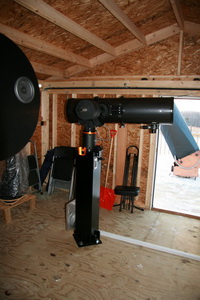
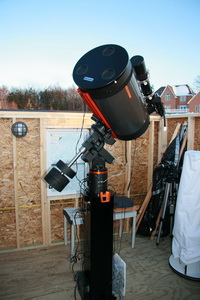
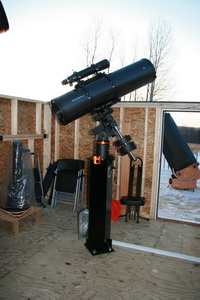
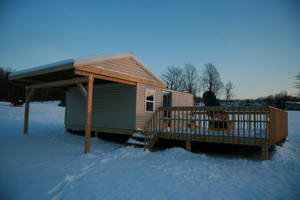
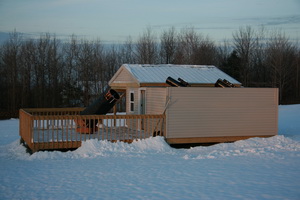
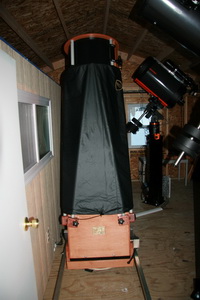
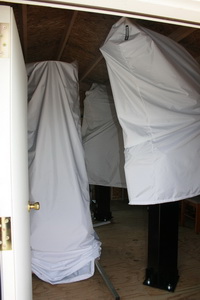
The observatory is a classic roll-off roof backyard observatory with an insulated control room. It has an external deck for for visual observing while the permanently mounted teelscopes (two) are used for imaging. Or, alternatively, an operator may sit in a heated control room enjoying Electronically Assisted Astronomy with one of the mounted telescopes.
The observatory was built by the team from BackyardObservatories.com in 2008 with some later modifications. The original brick telescope pedestal on the deck was replaced with a wooden one (the original one started to move). I have also installed a small gutter ("white aluminum mini gutter" from Mobile Homes Parts Store) on the south side of the roof to collect condensation dripping there on the damp nights in the summer. Without the gutter the water was dripping on the floor, and then I was afraid it may increase humidity inside the closed observatory during the day. I have also painted the wood outside with a wood protector. I had to enlarge holes in the floor around pier bolts since in two places the floor was touching the bolt and transmitting some vibrations. I think the floor settled a bit over time, and since the original holes were quite tight even small move was enough to connect.
The observatory was a joy to use in the first 8 years of service, and I hope it will be in the coming years. No major problems at all, only the small modifications. It changed the way I am pursuing amateur astronomy and I never looked back!
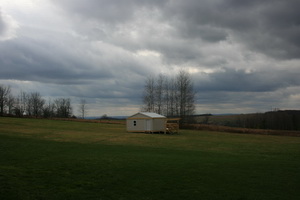 I have decided to build my
observatory around the same time when we decided to move to the new house - in the spring 2008.
Once the decision was made (and funding secured
![]() ) I started to look for the best location. At first
I thought that I should buy or lease a lot in a place with as little as
possible light pollution and a good view along the horizon . Well, at first
I explored the map virtually and I selected several places, but when I
started to check them out it turned out it is not that easy. Many places
looked good on the map, but were virtually inaccessible, or would be
inaccessible in the winter. Despite these problems I have located a few
suitable places (some are marked on my
light pollution map), but then it proved very difficult to locate owners
and convince them to lease or sell. During that search I also realized that
an observatory 30 minutes away from the house won't be used as much as the
one next door ... and I turned my attention to my new house. Fortunately the
place turned out to be suitable for an observatory, the house is located
close to the top of the hill away from the city, the biggest obstacle
being the slope of the hill going up towards the south and thus limiting the
view there to around -32º in declination. The limiting
magnitude (as measured with
Sky Quality Meter)
turned out to be 6.1 while the best location within a reasonable driving
distance had limiting magnitude of 6.43. Not too bad, especially taking into
account half an hour commute on not-so-good back roads ... There are
five houses in direct
view (including mine), two behind the trees and three in the open. However, there are no
outdoors floodlights in use and generally the light proved to be
unobtrusive so far.
) I started to look for the best location. At first
I thought that I should buy or lease a lot in a place with as little as
possible light pollution and a good view along the horizon . Well, at first
I explored the map virtually and I selected several places, but when I
started to check them out it turned out it is not that easy. Many places
looked good on the map, but were virtually inaccessible, or would be
inaccessible in the winter. Despite these problems I have located a few
suitable places (some are marked on my
light pollution map), but then it proved very difficult to locate owners
and convince them to lease or sell. During that search I also realized that
an observatory 30 minutes away from the house won't be used as much as the
one next door ... and I turned my attention to my new house. Fortunately the
place turned out to be suitable for an observatory, the house is located
close to the top of the hill away from the city, the biggest obstacle
being the slope of the hill going up towards the south and thus limiting the
view there to around -32º in declination. The limiting
magnitude (as measured with
Sky Quality Meter)
turned out to be 6.1 while the best location within a reasonable driving
distance had limiting magnitude of 6.43. Not too bad, especially taking into
account half an hour commute on not-so-good back roads ... There are
five houses in direct
view (including mine), two behind the trees and three in the open. However, there are no
outdoors floodlights in use and generally the light proved to be
unobtrusive so far.
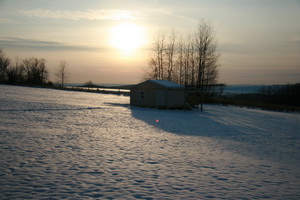 The
decisions about the building and design were much easier to make. First,
I decided that I won't build it myself, it would take too long and with
the free time I had available it would probably last more than a year
(or more likely two). I
wanted to have an observatory housing more than one scope and possibly
storing another one, so the only choice here was roll-off roof design.
With these constraints in mind I carried out a search for an appropriate
company and design. The one that looked best was
BackyardObservatories.com, I met them at the NEAF show in the spring 2008
and their design was very impressive, they actually had a cross-section
of an observatory displayed at the show! I called them up and
scheduled the installation for September 2008. Scott and Don arrived on
September 10th and it took them a week to build
the observatory. I am very happy with their work and customer
service, and during their stay in Ithaca I felt like having a couple of
good friends visiting me.
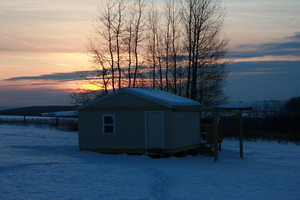 I
have chosen 15'x15' version (CJE MAX) with an optional warm control room and an
additional 15'x15' deck on the west side. 15'x15' is just right for two
telescopes and leaves some space around for stuff. Warm room is 15'x5',
long and quite narrow, but spacious enough for storage and control desk.
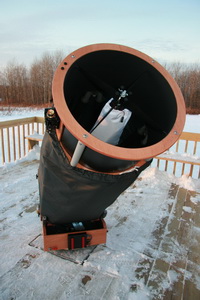
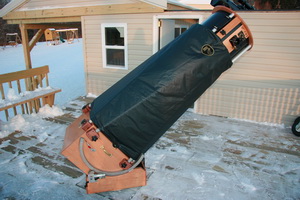
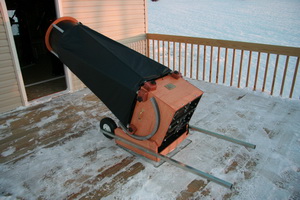
I also asked for a concrete pad in the middle of the deck in order to
have a stable base for my big Dobsonian. The roof slides
backwards on the rails, perpendicular to its slope, initially I was afraid that the snow may be
getting in when opening the observatory in the winter. In fact it
proved to be a no issue, usually very little snow accumulated on the
roof, and on one instance that it did it was easy to remove it with a
roof rack. There are three doors - one entering the warm room (main
entry) from outside, another between warm room and observing room, and
the third between observing room and the deck. I have chosen two Omega-2
piers with a custom top plate suitable for CGE equatorial head. They
also installed electrical wiring throughout the observatory (with white
and red lights), after the observatory was finished I have run a buried power cable from the house
and connected it via access they left.
I
have chosen 15'x15' version (CJE MAX) with an optional warm control room and an
additional 15'x15' deck on the west side. 15'x15' is just right for two
telescopes and leaves some space around for stuff. Warm room is 15'x5',
long and quite narrow, but spacious enough for storage and control desk.
I also asked for a concrete pad in the middle of the deck in order to
have a stable base for my big Dobsonian. The roof slides
backwards on the rails, perpendicular to its slope, initially I was afraid that the snow may be
getting in when opening the observatory in the winter. In fact it
proved to be a no issue, usually very little snow accumulated on the
roof, and on one instance that it did it was easy to remove it with a
roof rack. There are three doors - one entering the warm room (main
entry) from outside, another between warm room and observing room, and
the third between observing room and the deck. I have chosen two Omega-2
piers with a custom top plate suitable for CGE equatorial head. They
also installed electrical wiring throughout the observatory (with white
and red lights), after the observatory was finished I have run a buried power cable from the house
and connected it via access they left.
|
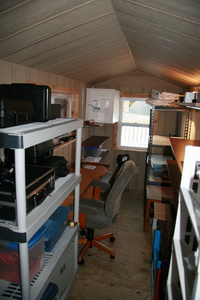
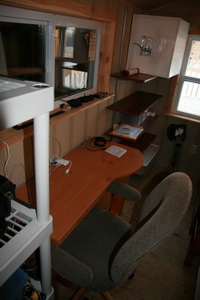
Warm room |
Control center in |
Deck, west side |
Observing room |
Observing room |
|
Observing room |
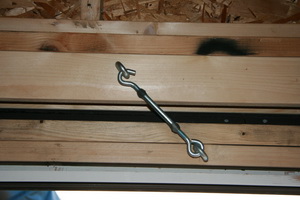
Bolt for anchoring the roof |
Anchoring the roof to |
Ready to roll off
|
|
|
Motor |
C14 ready |
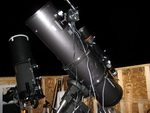
Newtonian ready |
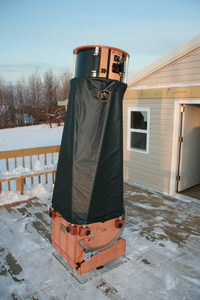
The Dob on the deck |
|
|
View from the north |
View from the south |
The Dob ready to roll in |
Observatory closed |
Observatory closed |
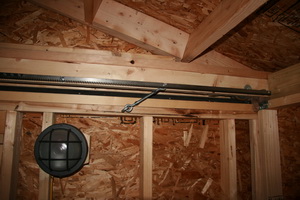
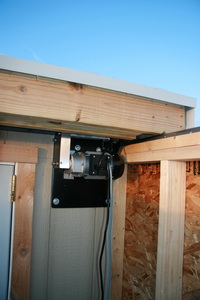
The roof just sits on the rails and is kept down by its weight. When closed it needs to be anchored down with four screws, the fifth anchor point is at the motor. For this size of the observatory I had to order a heavy duty motor - especially that I had to count in some snow in the winter.
